Plastering an internal corner is key to a smooth, professional finish for your walls. It’s vital whether you’re redoing your home or starting a new build. Learning how to plaster corners well can greatly improve your project’s look and quality. This guide will show you how to plaster a corner, from the basics of drywall plastering to finishing touches.
Key Takeaways
- Understand the fundamentals of interior drywall plastering and corner bead installation.
- Prepare the necessary tools and materials, including the proper plaster mixing ratios.
- Master the step-by-step guide for plastering an internal corner, including finishing and smoothing techniques.
- Troubleshoot common issues, such as drywall corner repair, to ensure a seamless, professional-looking result.
- Achieve a polished, flawless finish by paying attention to the final touches and smoothing process.
Understanding Internal Corner Plastering
Learning how to plaster interior drywall is key for homeowners or contractors wanting a top-notch finish. The first step is installing corner bead correctly. This is what makes corners look sharp and clean.
Interior Drywall Plastering
Getting the drywall ready for plaster takes a lot of care. You must make sure there are no nail holes or uneven spots. Sanding and priming the wall makes it ready for plaster.
Corner Bead Installation
Putting in corner bead is a vital part of plastering drywall. It’s made of metal or plastic and makes the plaster strong and corners sharp. Securing the corner bead well and blending it with the wall is crucial for a great finish.
Knowing how to install corner bead and plaster drywall well is important for top results. With these skills, you can make any space look amazing with a smooth finish.
Preparing the Tools and Materials
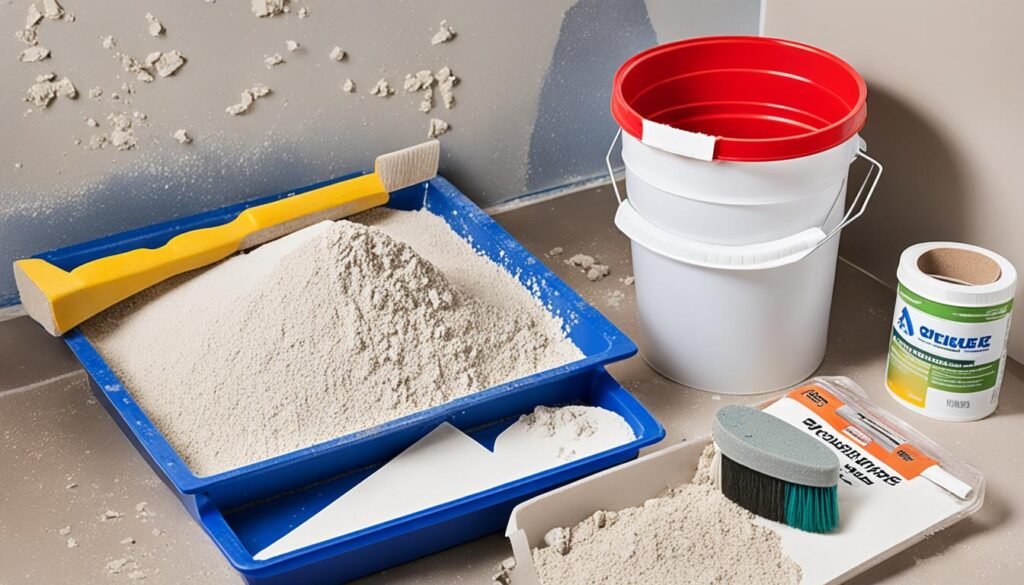
Before starting the plastering process, make sure you have the right plastering tools and materials. Items like putty knives, joint compound, plaster, and trowels are key for a smooth finish.
Plastering Tools and Materials
- Putty knife or drywall knife: Used for applying and smoothing joint compound.
- Joint compound: Also known as drywall mud, this material fills gaps and helps create a smooth surface.
- Plaster: The main ingredient for plastering, available in various types and formulas.
- Trowel: A flat, metal tool used for spreading and shaping the plaster.
- Sandpaper: Helps to create a smooth finish by removing any uneven or rough spots.
- Bucket or mixing container: For mixing the plaster mixing ratios correctly.
- Water: Essential for mixing the plaster to the right consistency.
Plaster Mixing Ratios
Getting the plaster consistency right is key for a great plastering job. The plaster mixing ratios depend on the plaster type and the finish you want. A common mix is 2 parts plaster to 1 part water. But, always check the plaster’s instructions for the best results.
| Plaster Type | Plaster to Water Ratio |
|---|---|
| Gypsum Plaster | 2:1 |
| Lime Plaster | 3:1 |
| Cement Plaster | 4:1 |
With the right plastering tools and materials and the correct plaster mixing ratios, you’re set for a professional-looking plaster job.

Step-by-Step Guide to Plaster a Corner Internal
Getting a perfect plaster finish on an internal corner can make any room look better. By using a step-by-step method, you can get a top-notch result that makes the walls look like one piece. Let’s look at the main ways to plaster corner finishing and internal corner plastering.
Plaster Corner Finishing
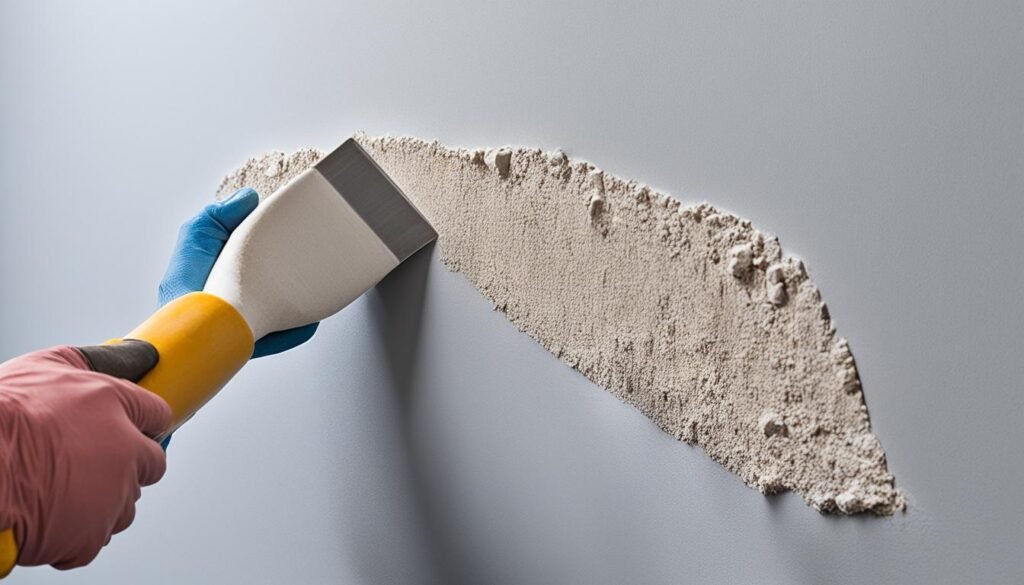
Start by putting a lot of joint compound on the internal corner for a smooth layer. Press the corner bead into the compound, making sure it fits perfectly. Then, use a putty knife to smooth it out, making sure it blends well with the wall.
After the first layer dries, add another coat of joint compound, feathering the edges to match the wall. Sand it lightly to get a smooth finish, being careful not to harm the corner bead. Keep adding layers until you’re happy with the look.
Internal Corner Plastering Techniques
- Make sure the corner is clean and even before starting.
- Mix the plaster as the instructions say, making it smooth and easy to work with.
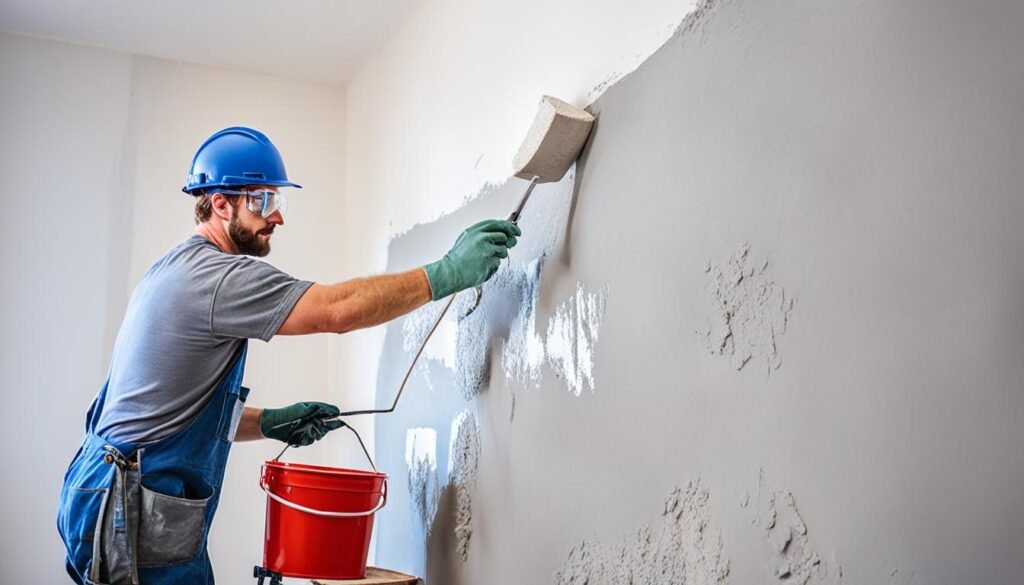
- Put the plaster on the corner with a putty knife or corner trowel, smoothing it as you go.
- Let the plaster dry a bit, then use a damp sponge or more plaster to make the corner look perfect.
- Sand the area once the plaster is dry for a flawless finish.
By using these steps, you can get a professional-looking plaster corner finishing and internal corner plastering. This will make your space look better.

“The key to a successful internal corner plaster finish lies in attention to detail and a steady hand.”
how to plaster a corner internal
Learning to plaster an internal corner is key for homeowners and professionals aiming for a smooth finish. By following some steps, you can make that tricky corner look perfect. This will boost your space’s look.
First, make sure you have all your tools and materials ready. You’ll need a putty knife, a corner trowel, a hawk, and quality plaster mix. Local Plasterer Melbourne suggests using thinner plaster for a smooth finish.
- Begin by applying a lot of plaster to the corner. Use your trowel to spread it well. Make sure to fill the gap completely.
- Then, use a putty knife to remove any extra plaster. This makes the transition between walls smooth.
- Let the plaster dry a bit, then use your trowel again. This time, feather the edges to blend with the wall.
- After it’s fully dry, sand the area for a perfect finish.
By following these steps and focusing on details, you’ll get better at how to plaster a corner internal. Remember, the more you practice, the better you’ll get. Don’t hesitate to try new things and improve your skills.
| Tool | Purpose |
|---|---|
| Putty Knife | Smoothing and blending plaster |
| Corner Trowel | Applying and shaping plaster in corners |
| Hawk | Holding and applying plaster mix |
| High-Quality Plaster Mix | Achieving a smooth, even finish |
“Attention to detail is the key to achieving a flawless internal corner plaster finish.”
With the right tools, materials, and methods, you can make any internal corner look great. Remember, it takes practice and patience. So, don’t be afraid to try new things and keep improving your skills.
Finishing Touches and Smoothing
As you finish your internal corner plastering project, it’s time for the final touches. This includes plaster corner smoothing. This step makes sure your work looks flawless and is ready for painting or more decoration.
Plaster Corner Smoothing
Getting a smooth plaster corner takes skill and careful attention. Here are some important techniques to learn:
- Light Sanding: Start by sanding the plaster corners with a fine-grit sandpaper. This removes small imperfections or high spots, getting the surface ready for what comes next.
- Skim Coating: Put a thin layer of plaster or joint compound on the sanded corners with a putty knife or drywall knife. Smooth the skim coat well, making sure it’s even and consistent.
- Final Sanding: After the skim coat dries, sand the corners again with an even finer grit of sandpaper. This final sanding makes the surface silky-smooth and free of blemishes.
Remember, the secret to perfect plaster corner smoothing is to work slowly and focus on details. With practice, you’ll get a flawless finish that will look great with your plastering work.
“Attention to detail is the key to achieving a flawless plaster corner finish.”
Troubleshooting Common Issues
Even the most skilled drywall experts can face surprises during plastering. Issues like uneven surfaces and cracking corners are common. We’ll explore drywall corner repair and offer solutions for a perfect finish.
Drywall Corner Repair
Drywall corner repair is a common problem. It can happen due to structural changes, bad installation, or normal wear. Damaged corners can mess up your project’s look and strength.
Here’s how to fix it:
- Check the damage. Look closely to see if it’s a small crack or a big issue, like a missing corner bead.
- Get the area ready. Sand it to clear off debris or paint, making it smooth for fixing.
- Use joint compound. If the corner bead is still there, put a thin layer of compound over the damage, blending it well.
- Add extra support if needed. If the corner bead is gone or broken, put in a new one before using the compound.
- Sand and smooth out. Once dry, sand the area to match the wall, being careful not to harm the surface.
- Prime and paint. Finish by priming and painting the spot to blend with the wall.
These steps will help you fix drywall corner repair and make your plastering look great.
| Common Drywall Corner Issues | Possible Causes | Solutions |
|---|---|---|
| Cracks in the corner | Structural movement, poor corner bead installation, or excessive drying | Apply joint compound, reinforce with corner bead if needed, sand, and paint |
| Missing or loose corner bead | Improper installation, damage, or deterioration over time | Remove old bead, install new corner bead, apply joint compound, sand, and paint |
| Uneven or bumpy corners | Insufficient sanding, improper plastering technique, or poor corner bead installation | Sand the area, apply additional joint compound as needed, and sand again for a smooth finish |
Knowing these common problems and fixes lets you handle drywall corner repair with confidence in your plastering work.
Conclusion
Mastering internal corner plastering is key for a pro finish in home projects. It’s about knowing the right techniques, tools, and steps. This ensures a smooth look and a result that lasts.
We’ve gone over the main steps for plastering an internal corner. This includes getting the surface ready, mixing plaster, and applying it well. With the tips from this guide, you can do this task with confidence.
Don’t worry if your first try doesn’t go perfectly. The more you practice, the better you’ll get. We invite you to share your experiences and tips. Together, we can all get better at home improvement and DIY projects.

