Plastering Gyprock is key for DIY fans and pros alike in Australia. This guide will show you how to get a perfect Gyprock finish. It covers everything from preparing the surface to the final sanding. Whether it’s a new build or a renovation, knowing how to plaster Gyprock is crucial for a top-notch finish.
Key Takeaways
- Learn essential techniques for setting and sanding recessed joints, tackling butt joints, and plastering internal and external corners.
- Understand the importance of proper safety equipment and surface preparation for Gyprock plastering.
- Discover the secrets to achieving a professional-grade finish through proper sanding techniques and attention to detail.
- Gain confidence in installing Gyprock plasterboard on walls and ceilings, including back-blocking for ceilings.
- Become a master of Gyprock plastering, ready to tackle any home improvement project in Australia.
Introduction to Plastering Gyprock
Plastering gypsum board, also known as Gyprock, is key in building or updating homes. The Gyprock jointing system uses a detailed three-coat process of joint compound. This method is vital for a smooth, professional finish that improves your home’s look.
Overview of the Gyprock Jointing System
The Gyprock system has three main steps: the tape coat, the second coat, and the finish coat. Each step has a unique role, from strengthening seams to creating a perfect finish. It’s important to apply the joint compound correctly for a smooth, even look that matches the walls or ceilings.
Importance of Proper Safety Equipment
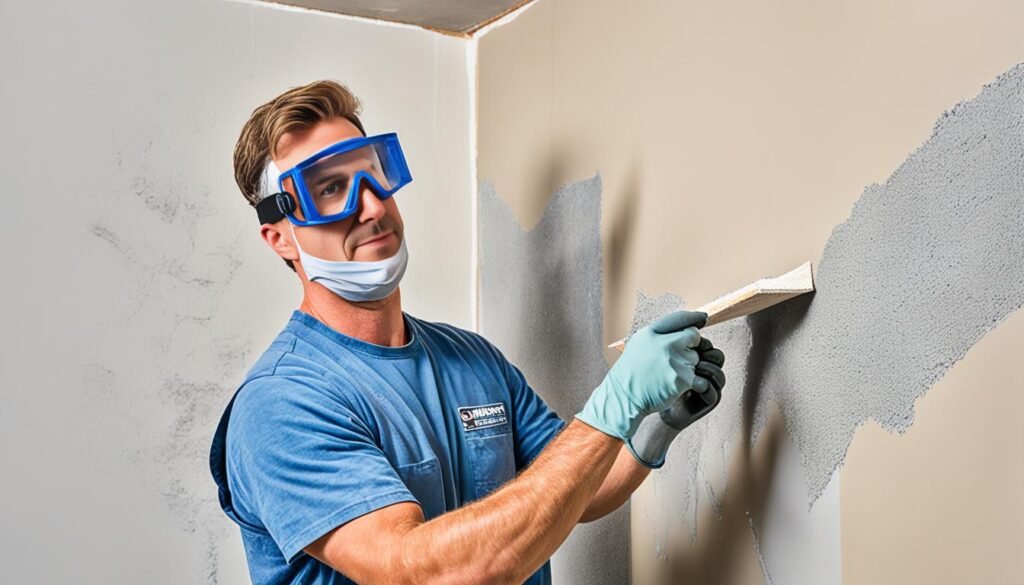
When working with gypsum board plastering and drywall mud techniques, safety comes first. Using the right gear like gloves, a dust mask, safety glasses, and ear protection protects you. These steps help ensure a safe and successful plastering job.
“Attention to detail and the right safety measures can make all the difference in achieving a flawless Gyprock finish.”
Preparing for Gyprock Plastering
Before starting your drywall project, make sure you have the right tools and materials. Plastering Gyprock, or gypsum board jointing, needs specific supplies for a pro finish. Here’s what you’ll need for the job.
Shopping List for Plastering Gyprock
- Gyprock Perforated Paper Tape: This tape reinforces and hides the joints between Gyprock panels for a smooth surface.
- Gyprock Multi-purpose Joint Compound: Known as “mud,” this compound fills and smooths the joints and screw holes.
- Gyprock Final Finish (if required): This optional product gives walls a flawless, high-quality finish.
- Internal Corner Trowel: Used for applying joint compound in corners, it ensures a clean finish.
- Hawk: A flat tool for holding and applying joint compound.
- Broadknives or Trowels: Various sizes are available for spreading and smoothing compound.
- Sanding Float: Smooths the surface for painting or finishing.
- Pole Sander or Working Platform (for ceilings): Reaches and sands ceiling Gyprock panels.
- 150 Grit Sandpaper or 220 Grit Sanding Mesh: For sanding plastered Gyprock surfaces.
- Soft Brush or Cloth: Cleans up debris or dust after sanding.
With this list, you’re set to handle the jointing and finishing of Gyprock walls. You’ll get a professional and durable result.
Setting and Sanding Recessed Joints
Getting the three-coat system right is key for a smooth finish on your drywall. This method has several steps that need detail and the right joint compound application skills.
Tape Coat for Recessed Joints
Begin by filling the recess with the joint compound and placing the paper tape gently. Then, cover it lightly. This first coat lays the groundwork for the next steps.
Second Coat for Recessed Joints
For the second coat, aim for a width of about 170-200mm. Focus on adding more joint compounds and making a smooth transition from the recess to the wall. Using the right drywall mud techniques here is vital for a smooth finish.
Finish Coat for Recessed Joints
The final coat should be thin, around 250mm wide. It blends the joint well and makes it look seamless. Carefully sanding drywall seams after each coat is key for a professional look.
By sticking to this three-coat system and focusing on details, you can make your recessed joints look perfect and part of the wall.
Tackling Butt Joints
Mastering drywall installation means getting good at finishing gyprock jointing. The butt joint, where sheets meet, can be tough. But, with practice, you can get smooth, professional results.
Finishing butt joints is like doing recessed joints, but with a twist. You apply the joint compound in three coats. The difference is how you apply each coat. For butt joints, you need to spread the compound further on both sides, making a gentle slope.
- Start with the first coat, spreading it 150-200mm on each side of the joint. This blends the edges well.
- For the second coat, go wider, about 250-300mm on each side.
- The final coat should cover the widest area, 350-400mm on each side, for a smooth look.
Building up the joint compound gradually and creating a slope helps hide the seam. This careful work takes more time but makes your drywall installation look professional.
“Attention to detail is the key to mastering butt joints. Take your time, and you’ll be rewarded with a flawless finish.”
How to Plaster Gyprock
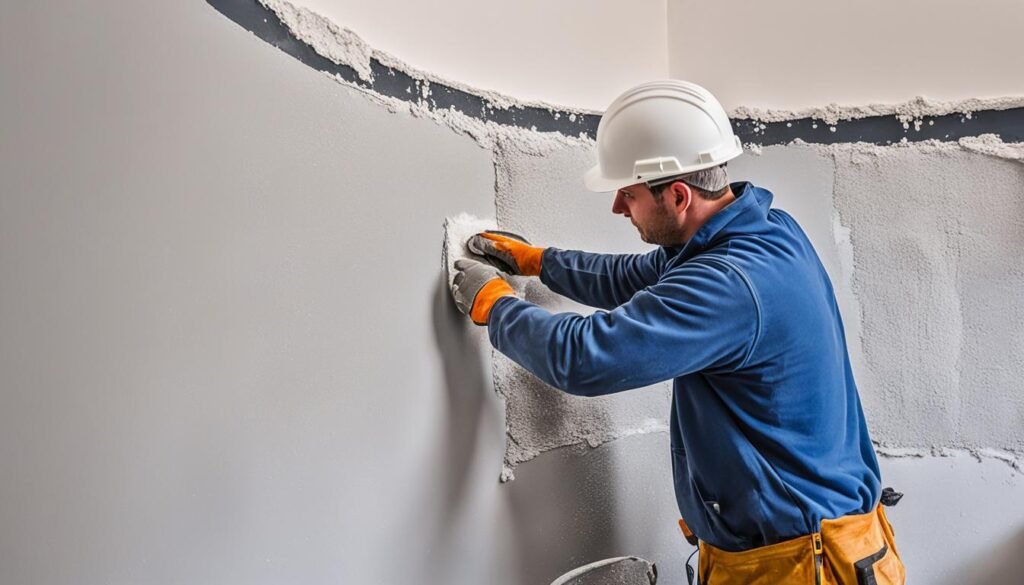
Plastering Gyprock, also known as drywall or gypsum board plastering, is key in wall finishing. It means putting on joint compound or “drywall mud” coats for a smooth surface. By using the right techniques, you can get a professional look that changes your space’s look.
The plastering process for Gyprock has three main steps:
- Applying the first coat of joint compound over the recessed joints and fasteners.
- Apply a second, thinner coat to further smooth the surface.
- Applying a final, thin finishing coat to create a flawless, ready-to-paint surface.
Make sure each coat dries fully before moving on. This makes the finish strong and lasting. Also, sanding between coats is key for a smooth surface.
“The secret to a professional-looking drywall finish is in the preparation and attention to detail.”
By using these gypsum board plastering methods and sanding each coat of drywall mud well, you can make a wall finish that impresses everyone. With practice, you’ll get a flawless, smooth surface ready for paint or wallcovering.
Plastering External Corners
Plastering gyprock corners is key for a smooth finish. These corners, where walls meet at an angle, need extra care. Using a metal corner bead is a simple yet effective way to improve your walls’ look.
The process includes a three-coat system, just like the rest of the wall. First, the metal corner bead is put in place. It acts as a strong base for the joint compound. Then, the first coat is applied to smooth out any flaws and blend the walls.
Next, the second coat refines the surface even more. Finally, the finishing coat gives the corner a clean, professional look. This makes the wall finish look great.
Getting drywall corner beading right is all about details. By perfecting this skill, you can make your project look better and ensure the gyprock jointing is precise.
“Achieving a flawless external corner is the hallmark of a true plastering professional.”
For great plastering of external corners, focus on the three-coat system and the metal corner bead. With practice and care, you can make your walls look stunning and cohesive. This will impress everyone who sees it.

Plastering Internal Corners
Mastering plastering internal corners is key to a perfect drywall installation. This two-coat system makes sure the transition is smooth and looks professional. It makes your gypsum board plastering project stand out.
The Two-Coat System for Internal Corners
Start with a thick layer of joint compound on the internal corner. This first layer strengthens the joint and gets it ready for the second coat. Make sure to spread the compound at least 100mm on each side for a smooth look.
The second coat refines the drywall installation. It goes beyond the first layer, covering at least 100mm on each side. This extra layer ensures a smooth blend of the two walls for a top-notch finish.
- Apply a generous bed of joint compound to the internal corner.
- Extend the first coat at least 100mm on each side of the corner.
- Add the second coat, spanning a minimum of 100mm on each side of the corner.
- Smooth the joint compound for a seamless, professional-looking internal corner.
This two-coat method helps you overcome the challenges of plastering internal corners. It leads to a flawless and attractive finish that will impress everyone.
Proper Sanding Techniques
Sanding is key in plastering, making sure the joint compound and Gyprock surface blend smoothly. Learning how to sand right is crucial for a perfect wall finish. We’ll cover the main techniques to make your drywall seams and wall finishing look great.
Feathering Edges and Sanding the Middle
To get a pro finish, feather the edges of the joint compound carefully. Begin by sanding the edges, slowly moving from the joint to the Gyprock. This makes the surface look smooth, without any bumps or ridges. Then, sand the middle of the joint for a smooth texture everywhere.
Checking for Imperfections
- Step back and check the surface for any imperfections after sanding. Look for high or low spots and uneven textures.
- If you see any spots that need more work, fix them right away. Use more joint compound or sand again as needed.
- Pay close attention to details for a pro-looking finish. Checking and fixing imperfections ensures a perfect result.
| Technique | Purpose | Tip |
|---|---|---|
| Feathering Edges | Create a smooth transition from joint compound to Gyprock surface | Use a lightweight sanding block or sponge for best results |
| Sanding the Middle | Achieve a consistent, uniform texture across the joint | Work in small, circular motions to avoid creating divots |
| Checking for Imperfections | Ensure a flawless final finish | Use a bright light to identify any problem areas |
“Proper sanding is the key to a professional-looking wall finish. Take the time to get it right, and your efforts will be rewarded with a smooth, seamless surface.”
Installing Gyprock Plasterboard
Getting the frame ready is key before installing the Gyprock plasterboard. You must make sure studs and ceiling framing are straight and clear of blocks. This ensures a smooth drywall installation.
Having a strong base is vital for gyprock jointing and wall finishing. By preparing the frame well, you set the stage for a top-notch result.
Checking the Frame
Start by checking the frame for any problems. Make sure the studs are straight and the ceiling is level. Also, check for nails, screws, or other things that could get in the way of the Gyprock.
- Inspect the studs for alignment and plumpness
- Ensure the ceiling framing is level and free of obstructions
- Remove any protruding nails, screws, or other obstacles
Spending time to get the frame right is crucial. It makes the Gyprock installation and plastering work easier. A solid base is key for a professional finish.

Fixing Gyprock to Ceilings
Installing drywall or gypsum board on ceilings needs extra care. A key method for a smooth finish is using back-blocking for butt and recessed joints. This means adding plasterboard strips behind the joints for support and strength. It makes a solid base for wall finishing.
Back-Blocking for Ceilings
Back-blocking is crucial in drywall installation for ceilings. Here’s how to do it right for a top-notch finish:
- Measure and cut plasterboard strips that are slightly narrower than the ceiling joists.
- Apply a generous amount of joint compound or construction adhesive to the back of the plasterboard strips.
- Firmly press the strips into place, aligning them with the ceiling joists behind the butt joints and recessed joints.
- Allow the adhesive to fully cure before moving on with the gypsum board plastering steps.
This back-blocking method makes a strong base that stops the wall finishing from sagging or cracking. It might take some extra time, but it’s vital for a durable and perfect ceiling.
Fixing Gyprock to Walls
Securing gyprock, or drywall, to walls is key in any wall-finishing project. It’s similar to installing it on ceilings but has some differences. Let’s look at how to fix gyprock to walls for a professional look.
First, make sure the wall frame is ready. Check that the studs are correctly spaced and the surface is clean. Once it’s ready, start the drywall installation process.
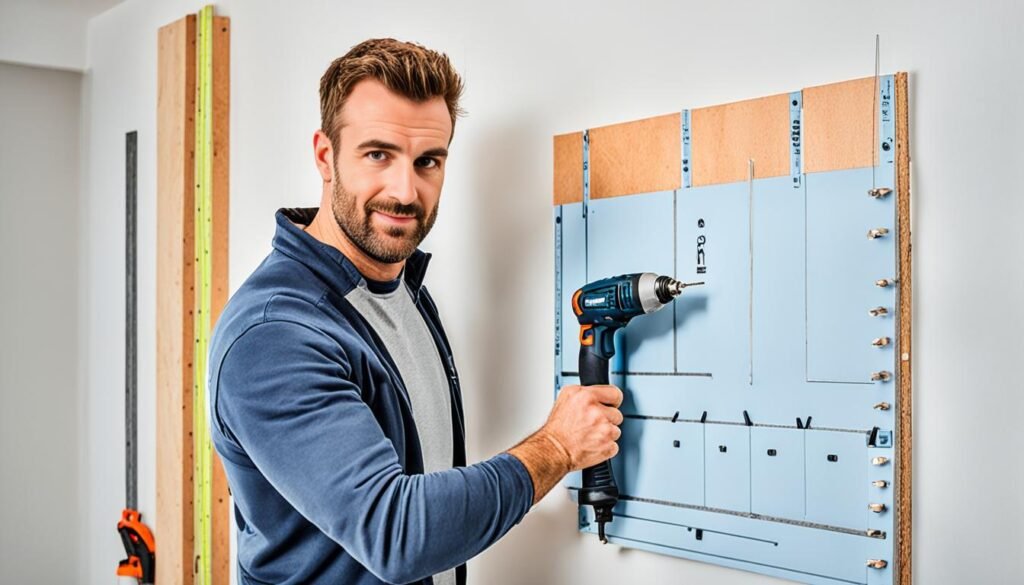
Like installing it on ceilings, use adhesive and fasteners to attach the gyprock sheets. It’s important to place these fasteners right for a stronghold.
- Apply a generous amount of adhesive to the wall frame, ensuring even coverage.
- Position the gyprock sheet against the wall and press firmly to adhere it in place.
- Secure the gyprock sheet with mechanical fasteners, such as screws or nails, spaced at regular intervals along the studs.
- Ensure the fasteners are driven in flush with the surface, creating a smooth, even finish.
After installing the gyprock, start the gyprock jointing process. This means filling and taping the seams for a smooth wall finishing surface. Paying close attention to detail is key for a professional look.
“The key to a successful gyprock wall installation is proper planning, careful execution, and attention to detail at every stage of the process.”
By following these steps and using the right tools, you can get a flawless gyprock finish. This will make your walls look great for years to come.
Conclusion
This guide has shown you how to get a pro-level plastering finish on your Gyprock surfaces. Always put safety first, use the right tools and materials, and work carefully for the best look.
With practice and focus, you can make your Australian home look amazing with a perfect how to plaster gyprock job. Getting good at drywall installation and wall finishing will make your rooms look better and your walls last longer.
Starting your Gyprock plastering project, face the challenges, learn from them, and be proud of your great results. With this knowledge, you can confidently take on any wall-finishing project. Your Australian home will surely stand out.

