Removing paint from plastered walls might seem hard, but it’s doable with the right tools and steps. If you want to fix a mistake or change your wall’s look, learning different paint removal methods is key. This guide will show you how to get your walls ready for a new paint job. By understanding your situation well, you can make your space look new again.
Key Takeaways
- Identify the right method for removing paint from your plastered walls.
- Gather essential tools and materials to streamline the process.
- Follow step-by-step instructions for effective paint stripping.
- Understand the importance of surface preparation before repainting.
- Avoid common mistakes that could damage plaster during removal.
- Incorporate professional assistance if needed for complex repairs.
Understanding the Need to Remove Paint from Plastered Walls
Knowing when to remove paint from plastered walls is key to a successful project. Not removing old paint can cause expensive repairs or less-than-ideal results. Spotting signs of peeling paint helps you decide if stripping the old paint is needed.
When Is It Necessary to Strip Paint?
Look for these signs to know when to remove paint from plaster walls:
- Visible peeling or flaking: This damage means the paint has lost its grip, so it needs quick action.
- Excessive bubbling or blistering: These signs point to moisture under the paint, which can cause more problems.
- Multiple layers of paint: Too many paint layers can make new paint not stick well.
- Age of paint: Old paint can break down, so checking its condition is important.
Common Signs of Peeling or Flaky Paint
Watch out for these signs of peeling paint in your home:
- Faded colors that show the paint is wearing off.
- Cracking or chipping in different spots.
- Unusual textures that mess up the wall’s smooth look.
Why Removing Old Paint Is Important
Removing old paint is key to a great new paint job. It makes sure the surface is ready for new paint to stick well. If you don’t remove old paint, new paint might bubble or peel off.
Impact on Surface Preparation for New Paint
Getting your surface ready for new paint is vital for a perfect finish. By removing old paint, you get a smooth surface for the new paint. This helps avoid defects that could mess up your walls’ look. Plus, it makes the new paint last longer, saving you money and effort.
Aesthetic Considerations
Old, damaged paint can make your home look bad and affect how happy you feel in it. A clean, new coat of paint on a well-prepared surface makes colours bright and true. So, taking the time to remove old paint really makes your home look better.
Essential Tools and Materials for Paint Removal
For a successful paint removal project, you need the right tools and materials. Having the right tools needed for paint removal makes the job easier and faster. Here’s a list of essential tools and products for top-notch results.
List of Required Tools
- Paint scraper
- Sanding block
- Putty knife
- Wire brush
- Drop cloths
- Protective gloves
- Safety goggles
- Bucket for waste disposal
Recommended Paint Removal Products
Choosing the right products for paint removal is crucial. Here are some recommended paint removal products that work well and are good for the planet:
- Eco-friendly water-based strippers
- Vinegar for a natural approach
- Citrus-based solvents
- Paint thinner for tougher jobs
How to Remove Paint from Plastered Walls
Removing paint from plastered walls needs a careful plan for clean results. Knowing the right steps to follow ensures the wall is fixed well without harming the surface.
Step-by-Step Instructions for Effective Paint Stripping
- Prepare Your Work Area: Begin by covering the floor and furniture with drop cloths or plastic sheets. This protects against debris during the process.
- Clean the Walls: Create a mild cleaning mix with water and wash the walls. This removes grease or dirt that could affect paint removal.
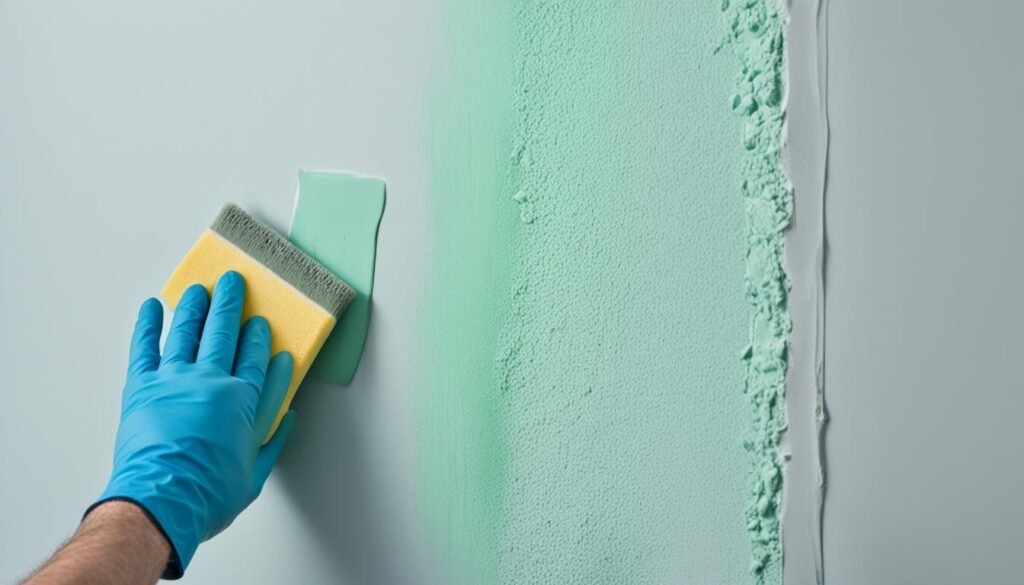
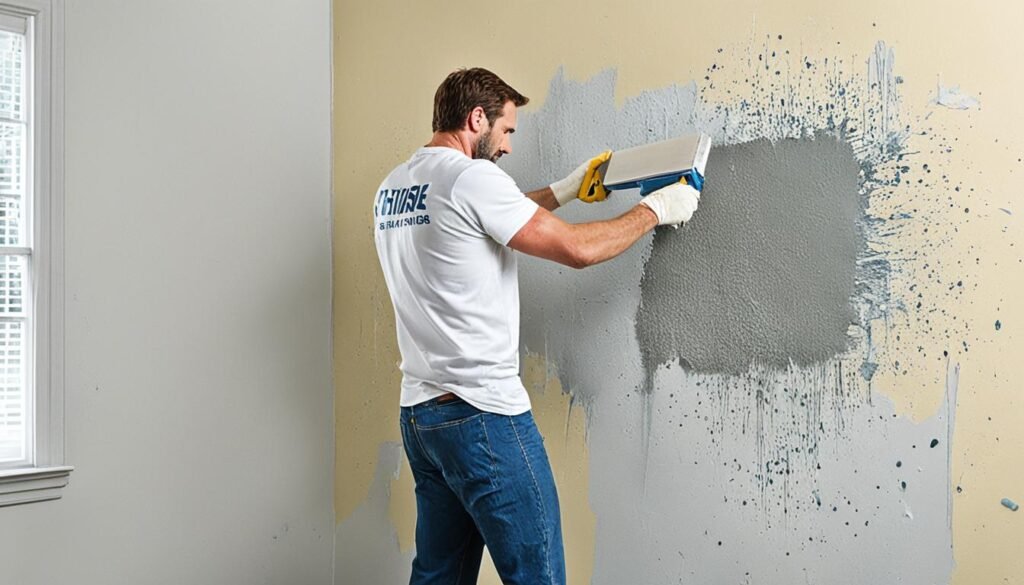
- Scrape Off Loose Paint: Use a paint scraper to gently remove any loose or flaking paint. Work carefully to avoid damaging the plaster.
- Sanding the Surface: Sand the areas lightly to make the surface smooth and ready for new paint. Focus on rough or uneven parts.
- Final Cleaning: Clean the walls once more to remove any dust from sanding. This step prepares the walls for new paint.

By following these steps, you’ll get a clean, ready surface for new paint. Each step is key for effective paint removal, leading to great results.
Paint Removal Techniques You Can Use
There are many ways to remove paint from plastered walls. Each method has its own benefits for different situations. Using a paint scraper is simple and great for small areas. For tougher paint, chemical stripping is a strong option. Knowing these techniques helps you pick the best one for your project.
Using a Paint Scraper Effectively
A paint scraper is a top choice for removing paint fast and well. It’s perfect for areas with loose or peeling paint. Here are some tips to use a paint scraper right:
- Choose a high-quality scraper with a comfortable grip.
- Hold the scraper at a slight angle to the wall for better control.
- Work in small sections to maintain focus and precision.
- Clean the scraper regularly to prevent paint buildup.
Chemical Paint Stripping Methods
Chemical paint stripping uses strong solutions to break down paint. These products work well but must be used carefully. Here are some important points to remember:
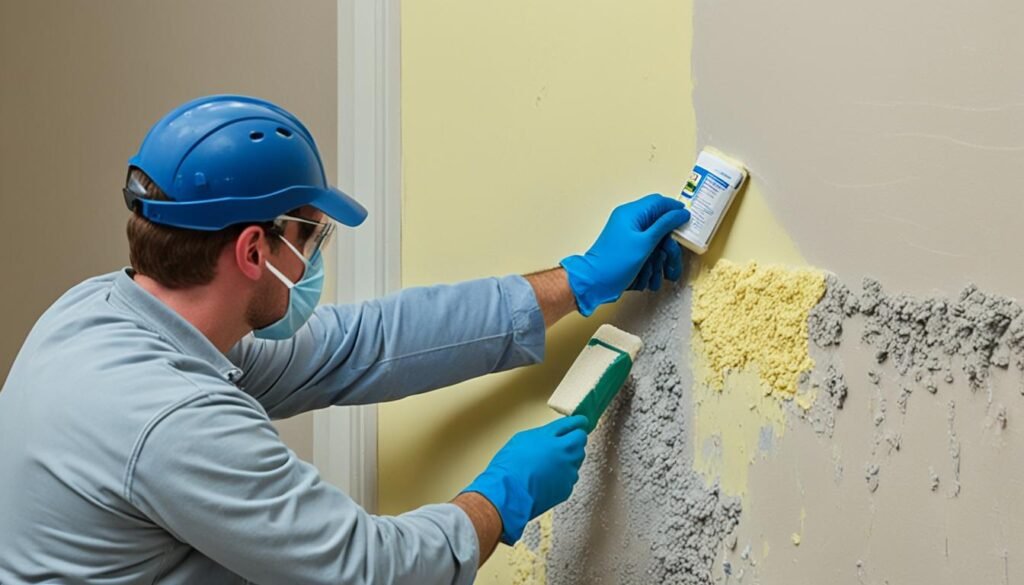
- Always wear protective gear, including gloves and a mask.
- Follow the manufacturer’s instructions for application.
- Test the product on a small area to ensure compatibility with your plaster.
- Ventilate the workspace to minimize inhalation of fumes.
DIY Paint Removal: Best Practices
Starting your DIY paint removal project? It’s key to focus on safety first. This ensures a smooth and effective process. Following best practices means you’re safe and efficient.
Safety Measures to Consider
First, put on protective gear. This includes:
- Gloves: To shield your skin from harsh chemicals and debris.
- Dust Mask: To protect your lungs from paint particles and fumes.
- Goggles: To keep your eyes safe from splatters and dust.
Make sure your workspace is well-ventilated. Open windows and use fans to move the air around. This cuts down on harmful fumes while you work.
Tips for Avoiding Damage to Plaster Walls
Preserving your plaster walls is key. Keep these tips in mind for DIY paint removal:
- Gentle Scraping: Don’t scrape too hard, as it can damage the plaster.
- Test Products: Always test paint removal products on a small area first.
- Work Slowly: Take your time to avoid mistakes and ensure thoroughness.
How to Remove Paint from Plastered Walls
Removing paint from plastered walls can seem tough. You need to pick the right method based on the paint type. Knowing what kind of paint you’re dealing with helps you choose the best tools and techniques.
Detailed Process for Various Paint Types
First, figure out what kind of paint is on your walls. Here are some common types and how to remove them:
| Paint Type | Recommended Removal Method |
|---|---|
| Emulsion Paint | Wet scraping or chemical gels are preferred due to their effectiveness in breaking down water-based products. |
| Oil-Based Paint | Solvent-based strippers are necessary. Ensure proper ventilation when using these chemicals. |
| Lead-Based Paint | Conduct a lead test. If positive, hire a professional or use specific products designed for lead paint removal. |
| Latex Paint | Hot water and soap can work well, supplemented by scraping if necessary. |
Always follow the removal method’s instructions carefully. Safety should be your top priority. Remember, each paint type needs a specific approach to avoid damaging the plaster.
Common Mistakes to Avoid During Paint Removal
When removing paint, it’s key to avoid common mistakes to make the process easier and keep your plaster walls safe. Paying attention to your work area and the tools you use is crucial for good results.
Not Preparing Your Work Area
Not preparing your work area is a big mistake during paint removal. It can lead to a messy job, more clean-up time, and damage to nearby surfaces. Here’s what to do before you start:
- Cover furniture and floors with drop cloths.
- Remove any fixtures or hardware that might get in the way.
- Ensure proper ventilation in the workspace.
Overheating Plaster with Heat Guns or Steam
Heat guns or steamers can soften paint, but be careful not to overdo it. Overheating plaster can cause it to crack, which is costly to fix. To keep your plaster walls safe, try these safer options:
- Use a handheld scraper with gentle pressure.
- Apply biodegradable paint strippers.
- Test a small area before committing to a method.

Post-Paint Removal: Preparing Your Walls for Repainting
After removing old paint, focus on getting your walls ready for new paint. This step is key to a smooth paint job. Cleaning and smoothing the surface helps the new paint look great and last longer.
Cleaning and Smoothing the Surface
Begin by cleaning the walls to get rid of dust, debris, or old paint bits. A damp cloth or sponge is perfect for this. After cleaning, check for any holes, cracks, or uneven spots. A wall that’s smooth is crucial for a professional look.
When to Use Plaster Filler
If you find big imperfections, think about using plaster filler. It’s great for filling holes and making surfaces smooth. Make sure the filler is dry before painting. Using plaster filler makes your walls ready for paint, helping you get a flawless finish.
| Step | Action | Tips |
|---|---|---|
| 1 | Clean the walls | Use a damp cloth to avoid dust settling back on the surface. |
| 2 | Inspect for imperfections | Look for cracks, holes, or rough areas that need attention. |
| 3 | Apply plaster filler | Use a putty knife for even application over imperfections. |
| 4 | Sand smooth after drying | Ensure a fine grit sandpaper is used for a smooth finish. |
| 5 | Clean the surface again | Remove dust from the sanding to prepare for painting. |
Conclusion
Getting paint off plastered walls is easier than you think with the right methods and tools. Whether you do it yourself or hire experts, the goal is the same: to get your walls ready for new paint. This ensures a smooth and perfect finish.
This guide and our tips will help you make the best choices for your situation. Doing so will improve your space’s look and make your interiors last longer.
If you have more questions or need help, just ask us. Call us at 0480 024 189 or email us at info@localplasterermelbourne.com.au. We offer personalized support for your needs.

